In the last part of the series we created a room in HL2 with a player spawn, a light and a shotgun. The room is looking bare, and needs some decoration. This tutorial will explain how to texture a room using the apply texture and texture application tools.Firstly, locate the texture window, as shown in the figure. If you cant see it, make sure the texture window is ticked in the screen elements section of the tools menu.
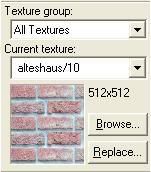
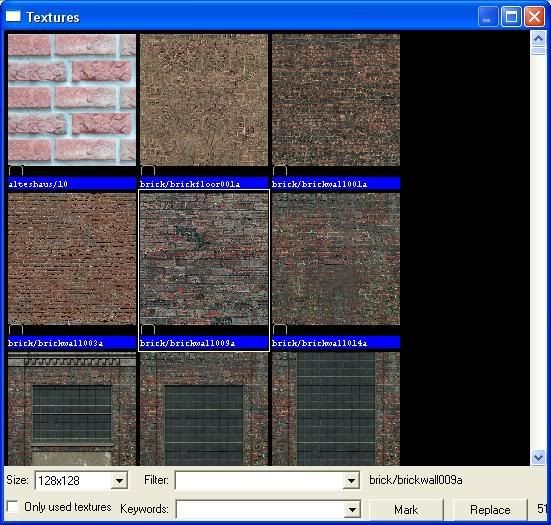
Click browse, and you will be shown a large selection of textures. Some are suitable for walls, others for ceilings etc. Choose a texture suitable for the brush you have chosen to apply a texture to, by typing ‘wall’ into the filter box as shown in the figure below. Then double click on a texture that you like.
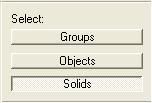
You will be returned to the main screen. Locate the selection mode bar, and select ‘solids’. If you cant see it, check that it is ticked within the ‘screen elements’ menu within the ‘view’ menu.
Select a brush in the room, and then locate and left click on the apply texture tool in the column shown below.
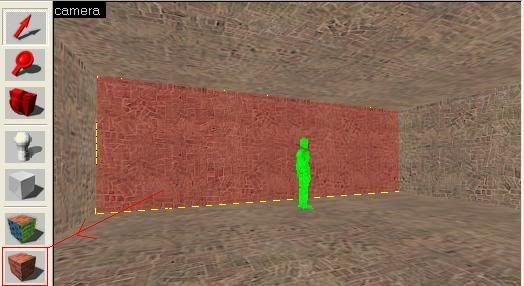
Now the brush selected will have the selected texture applied to it, as seen in the figure below. Now try texturing the other walls in the room.Part 2: Texture Application Tool.You will notice that the textures may not fit correctly on the walls, they may seem to big or small, or misaligned. The texture application tool is used to solve this issue.
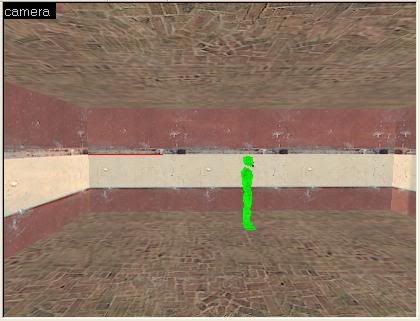
Click on the texture application tool in the left column.

A texture application window will open up, which has several options. You can stretch and shrink textures, make them fit to one surface and scroll textures so that they align with the edges of your walls.
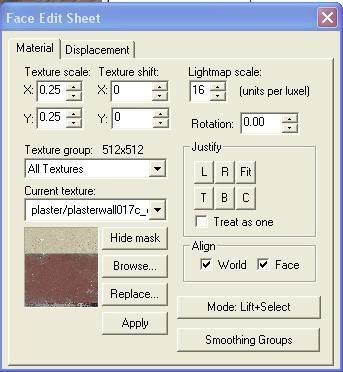
To align a texture on a surface, select a surface by left clicking on it within the 3D viewer. It will turn red. Now left click on the arrows in the top left of the texture application window to shift texture up/down an left/right, as indicated in the figure.
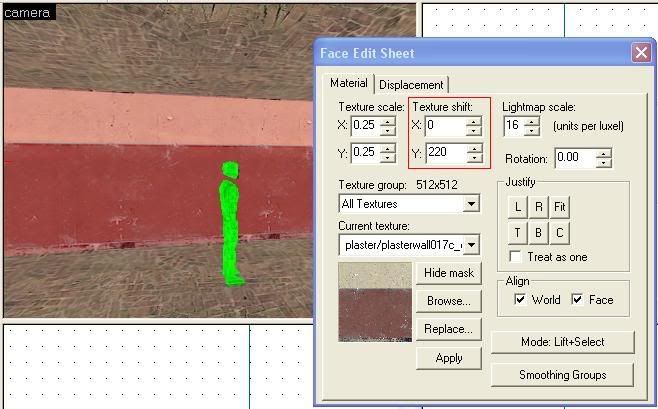
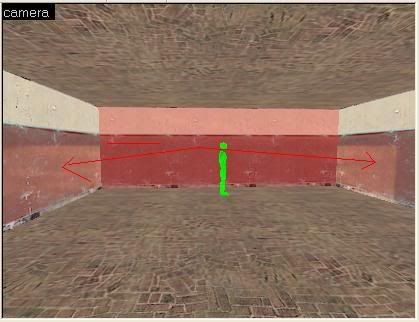
You will notice that there is a corresponding number for each shifting box. You can also click in these boxes and enter a number, then right click on a surface to apply the changes to that surface, which is a quicker method of applying texture shifts to multiple surfaces. Now try shifting the texture on the wall so that it matches that in the picture above.You can also stretch textures by width and height, by entering a value into the boxes as shown below. The standard value is 0.25. A larger number will stretch and a smaller number will shrink the texture. This is used in conjunction with the shifting boxes to align textures.Now copy the surface that you aligned by selecting it so that it turns red, then right clicking on each wall in the 3D viewer.
No comments:
Post a Comment