Half Life 2 Mapping Tutorial: Hammer Tools Part 4: Texture Application Tool
In the last part of the series we created a room in HL2 with a player spawn, a light and a shotgun. The room is looking bare, and needs some decoration. This tutorial will explain how to texture a room using the apply texture and texture application tools.Firstly, locate the texture window, as shown in the figure. If you cant see it, make sure the texture window is ticked in the screen elements section of the tools menu.
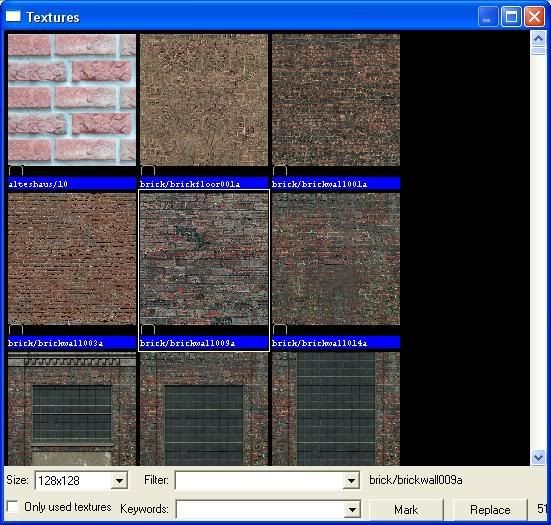
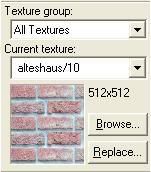 Click browse, and you will be shown a large selection of textures. Some are suitable for walls, others for ceilings etc. Choose a texture suitable for the brush you have chosen to apply a texture to, by typing ‘wall’ into the filter box as shown in the figure below. Then double click on a texture that you like.
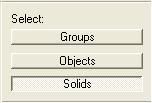
 You will be returned to the main screen. Locate the selection mode bar, and select ‘solids’. If you cant see it, check that it is ticked within the ‘screen elements’ menu within the ‘view’ menu.
 Select a brush in the room, and then locate and left click on the apply texture tool in the column shown below.
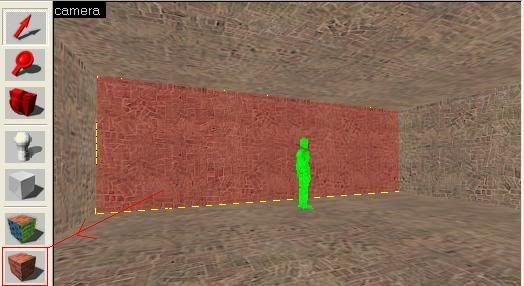 Now the brush selected will have the selected texture applied to it, as seen in the figure below. Now try texturing the other walls in the room.Part 2: Texture Application Tool.You will notice that the textures may not fit correctly on the walls, they may seem to big or small, or misaligned. The texture application tool is used to solve this issue.
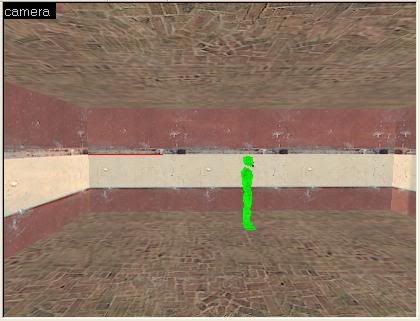 Click on the texture application tool in the left column.
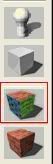 A texture application window will open up, which has several options. You can stretch and shrink textures, make them fit to one surface and scroll textures so that they align with the edges of your walls.
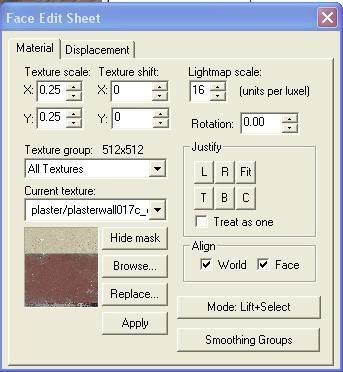 To align a texture on a surface, select a surface by left clicking on it within the 3D viewer. It will turn red. Now left click on the arrows in the top left of the texture application window to shift texture up/down an left/right, as indicated in the figure.
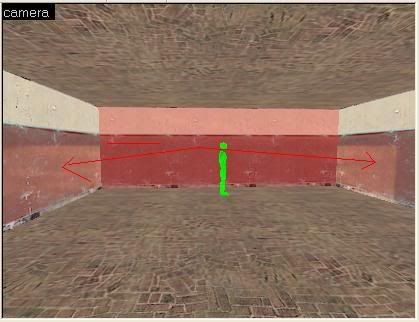
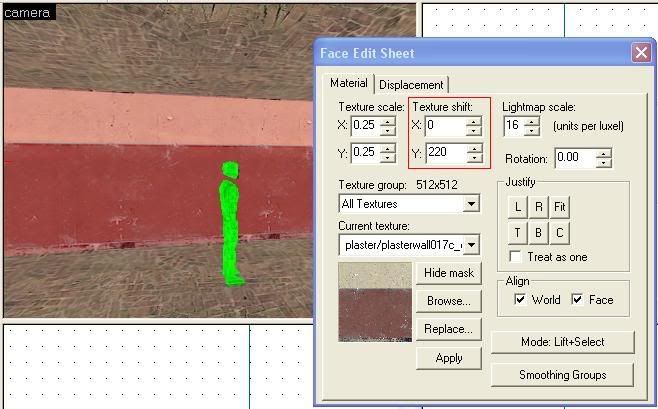 You will notice that there is a corresponding number for each shifting box. You can also click in these boxes and enter a number, then right click on a surface to apply the changes to that surface, which is a quicker method of applying texture shifts to multiple surfaces. Now try shifting the texture on the wall so that it matches that in the picture above.You can also stretch textures by width and height, by entering a value into the boxes as shown below. The standard value is 0.25. A larger number will stretch and a smaller number will shrink the texture. This is used in conjunction with the shifting boxes to align textures.Now copy the surface that you aligned by selecting it so that it turns red, then right clicking on each wall in the 3D viewer.
Half Life 2 Mapping Tutorial: Hammer Tools Part 3: Using the entity toolThis short tutorial will explain how to use the entity tool in Hammer. The entity tool allows you to place an entity into the map, which is non-brush based object, such as a prop, monster or light into your map. The first step is to make a room in which to hold the entities, as explained in the brush tool tutorial. Entities cannot be created without this being done first. It will shortly become apparent why this is.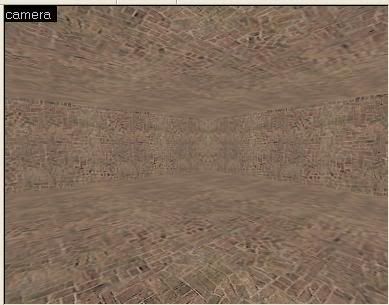 Left click on the entity tool, as shown on left column in the figure below. Next, choose an entity from the object bar. If you cannot see the entity window, click on the tools menu, and then move the cursor to the ‘screen elements’ and make sure the ‘object bar’ is ticked in the list.
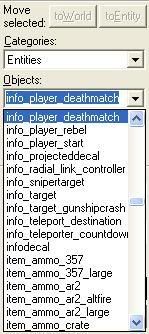
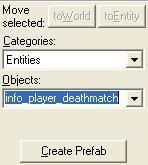 As shown below, left click on the drop-down menu that gives a description of an entity (e.g. info_player_start). Now use the scroll bar to find your desired entity, and left click on it.
  To place an entity, move the cursor over to the 3D Viewer, and position the camera so that it is facing the area in which you wish to place it. Now with the entity tool selected once again, left click on the area of the 3D Viewer to place the chosen entity.
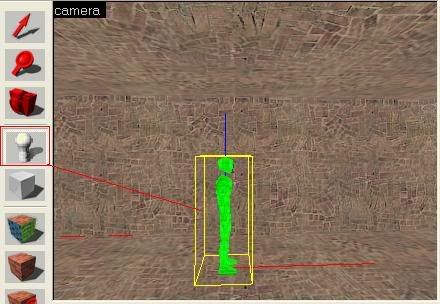 The entity is now placed, but can be repositioned by using the 2D windows. This is demonstrated in Part 1 of this series.Now try placing some more entities. Use info_player_deathmatch to spawn players during HL2 games, a lightentity and weapon_shotgun. Be careful that entities are not positioned so that any part of them is hanging outside of the boundaries of the room, otherwise this will cause a leak when compiling.
HalfLife 2 Mapping Tutorial: Hammer Tools Part 2: Using the brush tool
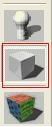
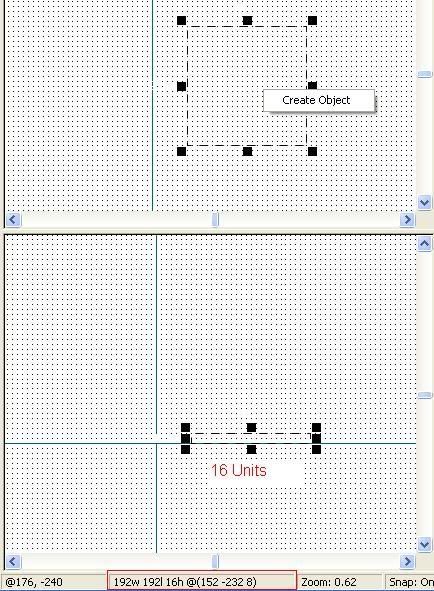
This HL2 tutorial will continue the theme of how to use the hammer tools bar. In this section I will explain how to use the brush tool. As shown in the figure below, use the cursor to select the brush tool, it is surrounded by a red box in the figure. Then click and hold the left mouse button on an area of one of the viewing windows, and move the mouse pointer in the desired direction. It will create a box with a dotted line.
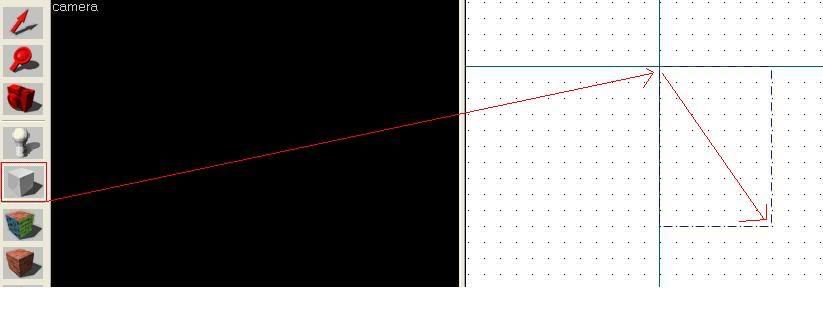 Now right-click in the area of the dotted box, and left click on the option create object. This will create the brush. See figures below:
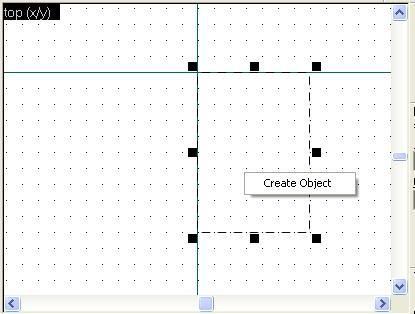
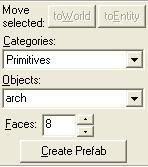
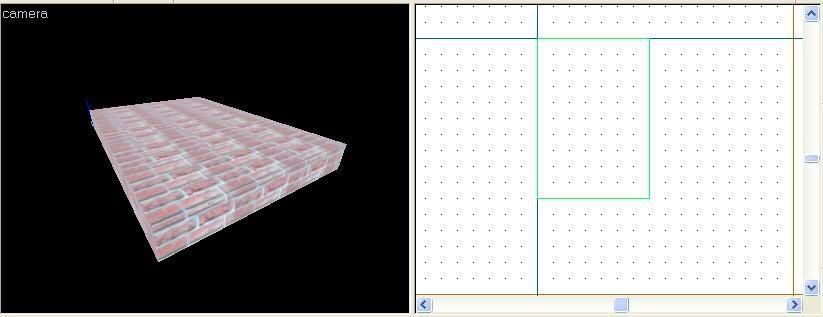 This is the simplest action performed by this tool. You can also create cylinders, spikes and spheres. To do this, find theobject bar, and select the drop-down menu as depicted below, and choose a shape.Note: If you cannot see the object bar, go to the view menu and select screen elements, then make sure object bar is ticked.
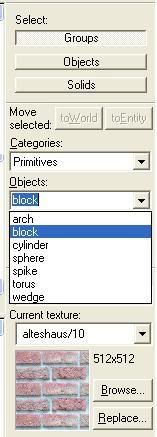 Repeat the same process as when you were making a cube.
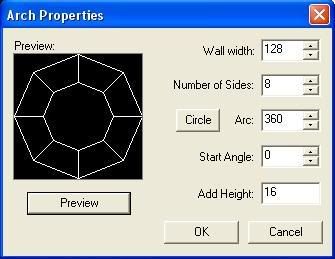
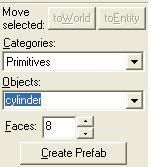 You can also select the number of faces for your shape, as shown below. The brush tool can also be used to create archways and stairs, but this will not be discussed in this tutorial.
HalfLife 2 Mapping Tutorial: Hammer Tools Part 1: Tools OverviewThis series of tutorials will explain the use of Hammer's tools, situated as shown below on the left column.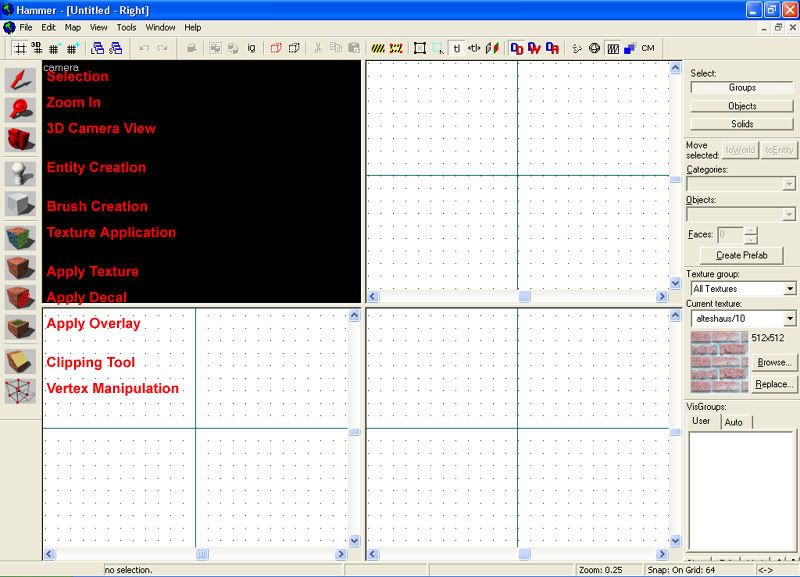 There are 11 tools, and while some are easy to use, others are more advanced but once mastered can decrease time spent on tasks such as creating new shapes, texturing, creating hills and much more for HL2 maps. I will start simple and explain the 1st 3 tools, selection, zoom and camera.1. Selection Tool.The selection tool is accessed at the top of the tools column, position your cursor and left-click on the pointer icon as shown in the diagram below. Then move your cursor to either the cross or the edges of the object, and left-click once again. Now the object should turn red to confirm that you have selected it.
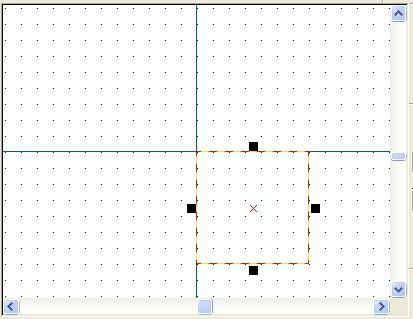
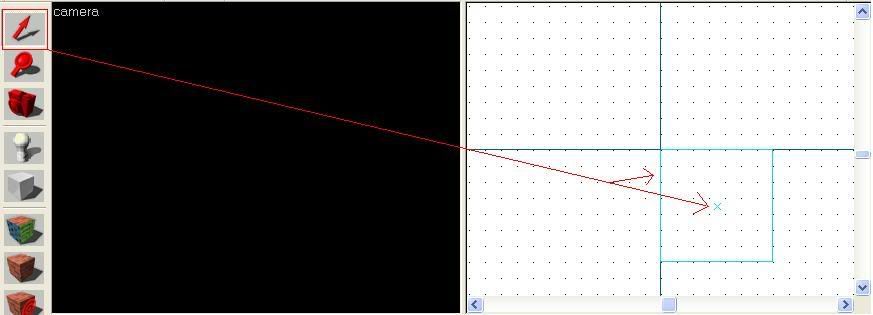 Once selected, an object can be manipulated in terms of size, and orientation.To resize an object, click and hold the left mouse button on the shown black squares, then move your cursor accross and you will see the size of the object change.
 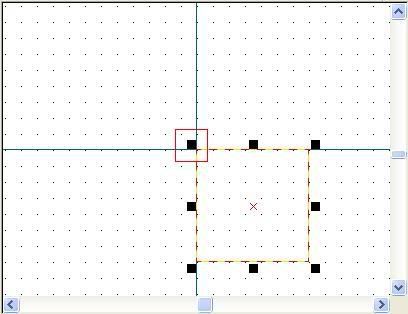 Object selection also allows you to rotate objects and manipulate their shape:With the object still selected and coloured red, left-click on it once more so that it reveals circles surrounding the object. Now click and hold the left mouse button on the circles as shown, and move the cursor so that the object visibly rotates.
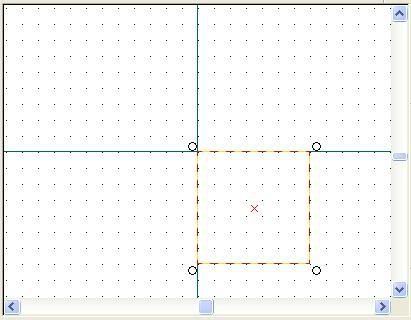 To manipulate an object, left-click once again to reveal 4 black squares. Click and hold the left mouse button and move the cursor to alter the angles of the object.
 2. Zoom InThe zoom tool serves just to amplify the viewing windows and their contents. Left-click on the icon as shown below, then observe that your cursor has changed to a picture of a magnifying glass. Once done, left-click on one of the viewing windows and zoom in. To zoom out, right-click to reveal a small window, and select the option to zoom out.
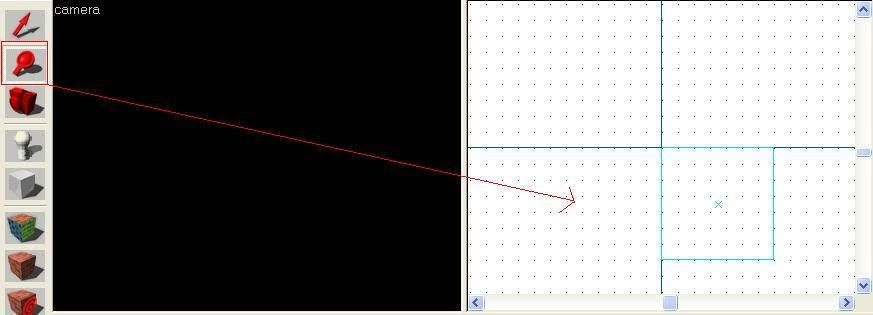 Note: You can also zoom in and out by positioning your cursor over the desired window, and then by pressing 'D' and 'C' on the keyboard.3. 3D Camera ViewThe black window in the top left of your map view represents what your map will look like in the game. Therefore it is useful to check this without having to load it up. Position your cursor over the icon shown below and left-click. Now left-click on a viewing window (not the 3D view window) and left-click, so that a small circle appears on the window.
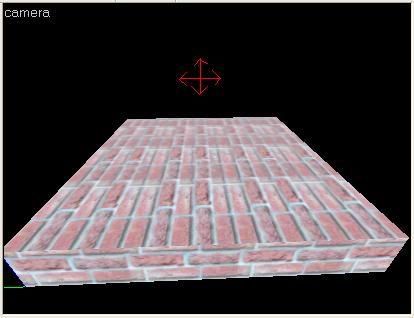
 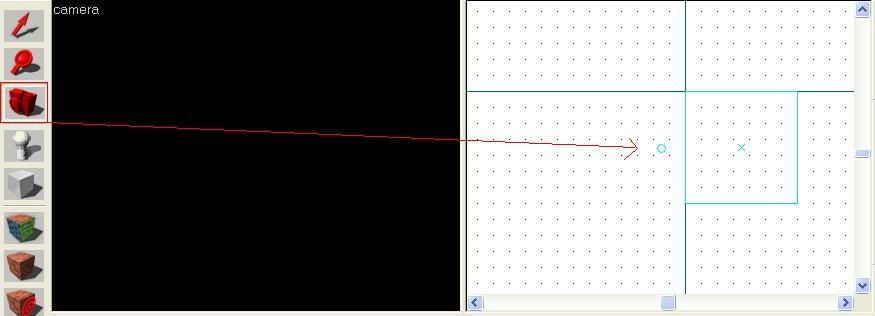 Now return to the 3D view window and click and hold the left mouse button. Move the cursor any direction to direct the viewer. You should see the wall come into view. You may 'travel' accross the map by using the W, A, S, D keys.
 The following tools are covered as separate tutorials in their own right:Entity CreationBrush CreationTexture ApplicationApply TextureApply DecalApply OverlayClipping ToolVertex Manipulation
Half Life 2 Mapping Tutorial: Displacement TipsFor me (I could be wrong) using noise on displacements can lead to problems, as the noise is distributed upwards so that the edges do not match other displacement edges - causing a need to match them up (more work).I would do each geometry individually (even though it takes longer, you have greater control and more potential to create more natural curves), using a value that is a factor of 2 - not 5 which is the default, as you are already working on a grid of 2, then displacements can match with solid brushes correctly,Lastly, brushes intended to be turned to displacements should tessellate like this so that two displacements align on the grid, with each triangle aligned as well. This is necessary to avoid gaps showing.I could be wrong, but by using these guidelines I have been able to create displacements without gaps.-------------------------------------Also, read these Half Life 2 mapping displacement tips:Valve developer 1Valve developer 2SDK NutsInterlopers Advanced DisplacementsInterlopers Creating Cliffs
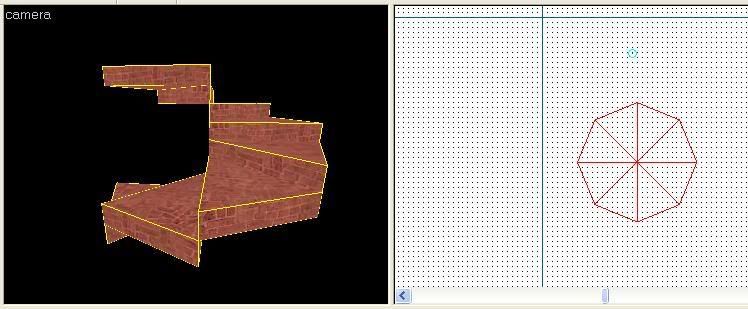
Half Life 2 Mapping Tutorial: Brush alignment for corner and stairsObserve this picture to align diagonal brushes (for example to be used for texture a stairwell). Now load Source SDK and Hammer and start a new HL2 map.Step 1. Construct your brushes.Step 2. Open up the Texture Application ToolStep 3. Follow the instruction in the picture below. Now test your Half Life 2 map!